Cuttings, bulbs and sprouting indoors
text and photos by Kira Burger
Ah, winter. Gone are the magnificent blooms of summer, the bountiful fall harvest, and gardening tools rest in storage. Yes, winter is here. Beyond endlessly perusing seed catalogues and dreaming of spring, what else can a stir crazy gardener do to keep those green thumbs occupied?
Grow an indoor garden…from the grocery store! Garden centres and nurseries can be bare at this time of year, but there is plenty of indoor gardening material at the grocery store.
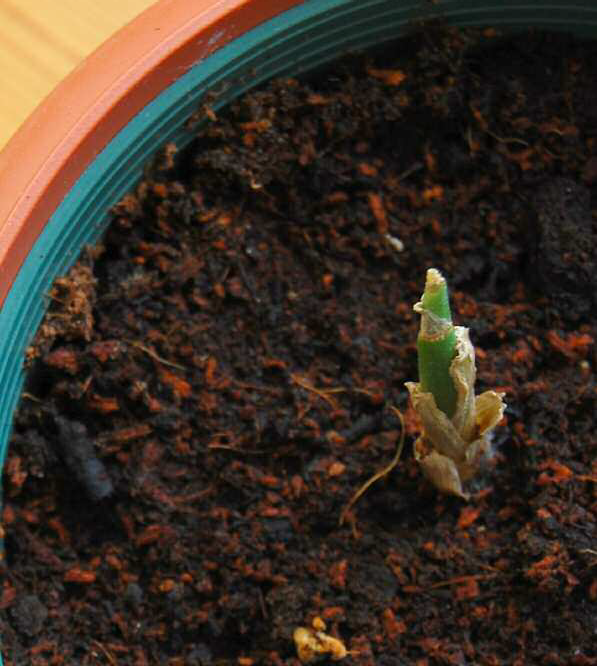
Grow a ginger plant: Soak a chunk of organic ginger in water overnight.The chunk should be at least 3-6 cm, or large enough to include a few nodes of the rhizome (those faint lines on the skin that encircle the ginger). Using organic ginger increases the probability that it did not receive any anti- sprouting treatment. Pot the ginger, burying it 3 cm below the surface of the potting mix. Keep moist until sprouts appear. Keep in a bright spot out of direct sunlight and water regularly. Enjoy the plant and harvest the rhizomes (a.k.a. ginger) when the leaves begin to dry, or after about a year.
Re-sprout green onions, leeks, fennel, lettuce, and more! Keep the bottom ends of your leafy veggies to pot them up, with tops just above the surface, in a moist potting soil with added compost. Place in a sunny spot and keep moist. Re- sprouting can occur in just a few days.Trim off new growth as you use it.Alternatively,re-sprouting can be accomplished in just a jar of water rather than compost and potting soil, but re-growth will eventually slow and quality decline as the plants deplete their nutrient reserves.
Looking for a little greenery indoors? Many of our most common houseplants can be propagated easily at home.A few cuttings from a plant that you enjoy is usually enough to do the trick.
Avoid contamination by using sterile soilless potting mixes and sanitizing equipment with a mild disinfectant prior to use. For all methods, keep the soilless mixes consistently moist but not waterlogged, and out of direct sunlight. For all cuttings, a dab of rooting hormone on the cut surface that goes into the soil can promote faster root development.When roots and new shoots begin to form on your propagule (fancy word for “whatever plant part you are using to propagate”), your plant baby is ready to be potted up.
Full leaf cutting: Pick a mature, healthy, but not ageing leaf and snip it from the plant. Using a sharp knife, make a few small cuts that cross leaf veins. Keeping the leaf intact, lay it flat on your moist potting mix.
Try this with Begonia.
Leaf section cutting: Cut three centimetre rectangular sections off of long,fleshy leaves,ensuring each piece contains a leaf vein. Stand the leaf sections upright in your moist propagation medium, cut side down (for the piece cut from the tip), and bottom side down from cuttings taken from lower on the leaf.
Try this with: Snakeplant (Sansevieria), Crown of Thorns (Euphorbia milii)
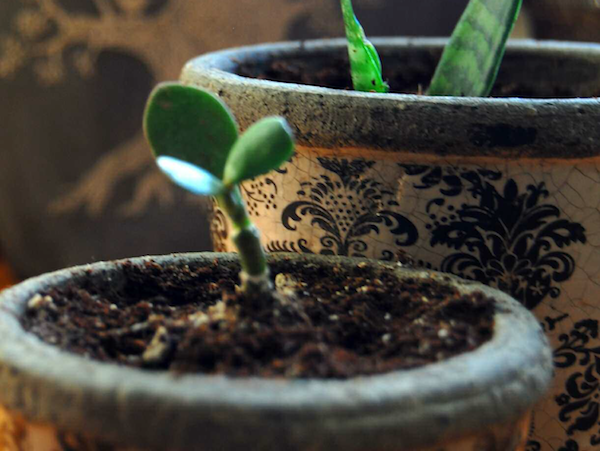
Stem Cuttings: Take a cutting 10-15 cm from the tip of a branch, just below a node (where the leaves and stem meet), or long enough to include at least one or two nodes. Remove all but the top leaves and place cut end of stem into moist soilless medium.
Try this with: Jade (Crassula spp.), Hoya, Dracaena, Dieffenbachia
Runners: If your houseplant sends out a long stem with a miniature plant on it, you can snip off the stem and place the baby plant into a moist soilless medium. It will soon develop roots and begin to grow!
Try this with: Spider Plants (Chlorophytum comosum)
Offsets: If your houseplant begins to form miniature plants from its roots, carefully dig them out and re-pot them; each baby can become a new plant.
Try this with: Aloe, Jade (Crassula spp.), Echeveria, Stonecrop (Sedum spp.)

Can’t bear to wait for beautiful spring blossoms? Try forcing some bulbs indoors! Tulips, hyacinths, crocuses, daffodils, grape hyacinths, scilla and amaryllis are all popular choices.
Plant bulbs in a shallow pot, root side down, buried halfway with the top half exposed. In the case of Amaryllis, water well, allowing the potting mix to almost fully dry out before watering again. Water more frequently once the flower stalk appears and ensure the plant is in a bright location.
Other bulbs require a simulated winter, called “cold stratification.” After potting them up as described above, water, cover with a perforated plastic bag to retain moisture and place the pots in an unheated cellar, attic, or in the refrigerator for a minimum of 12 weeks. Check occasionally to ensure the potting mix does not dry out.After the shoots begin to appear, move the pot to a bright, sunny spot and wait for the flowers. Placing the bulbs in a cool spot each night will simulate the outdoors so flowers last longer.
Once your flowers have faded,compost the bulbs, or continue to grow the foliage in the pot (gradually acclimatizing it to a bright spot outdoors once the frost has past) for it to recharge the bulb’s resources for another round of blooming the following year. n
Kira Burger is a landscaper and urban food tree advocate by day, and a passionate organic gardener by night. Trained in biology and horticulture, Kira enjoys engaging Ottawa residents to appreciate the edible bounty hiding in plain sight. She volunteers with the Master Gardeners of Ottawa-Carleton.


